 |
 |
 |
Control Panel - Halloween Horror
Guides & Projects
![]()
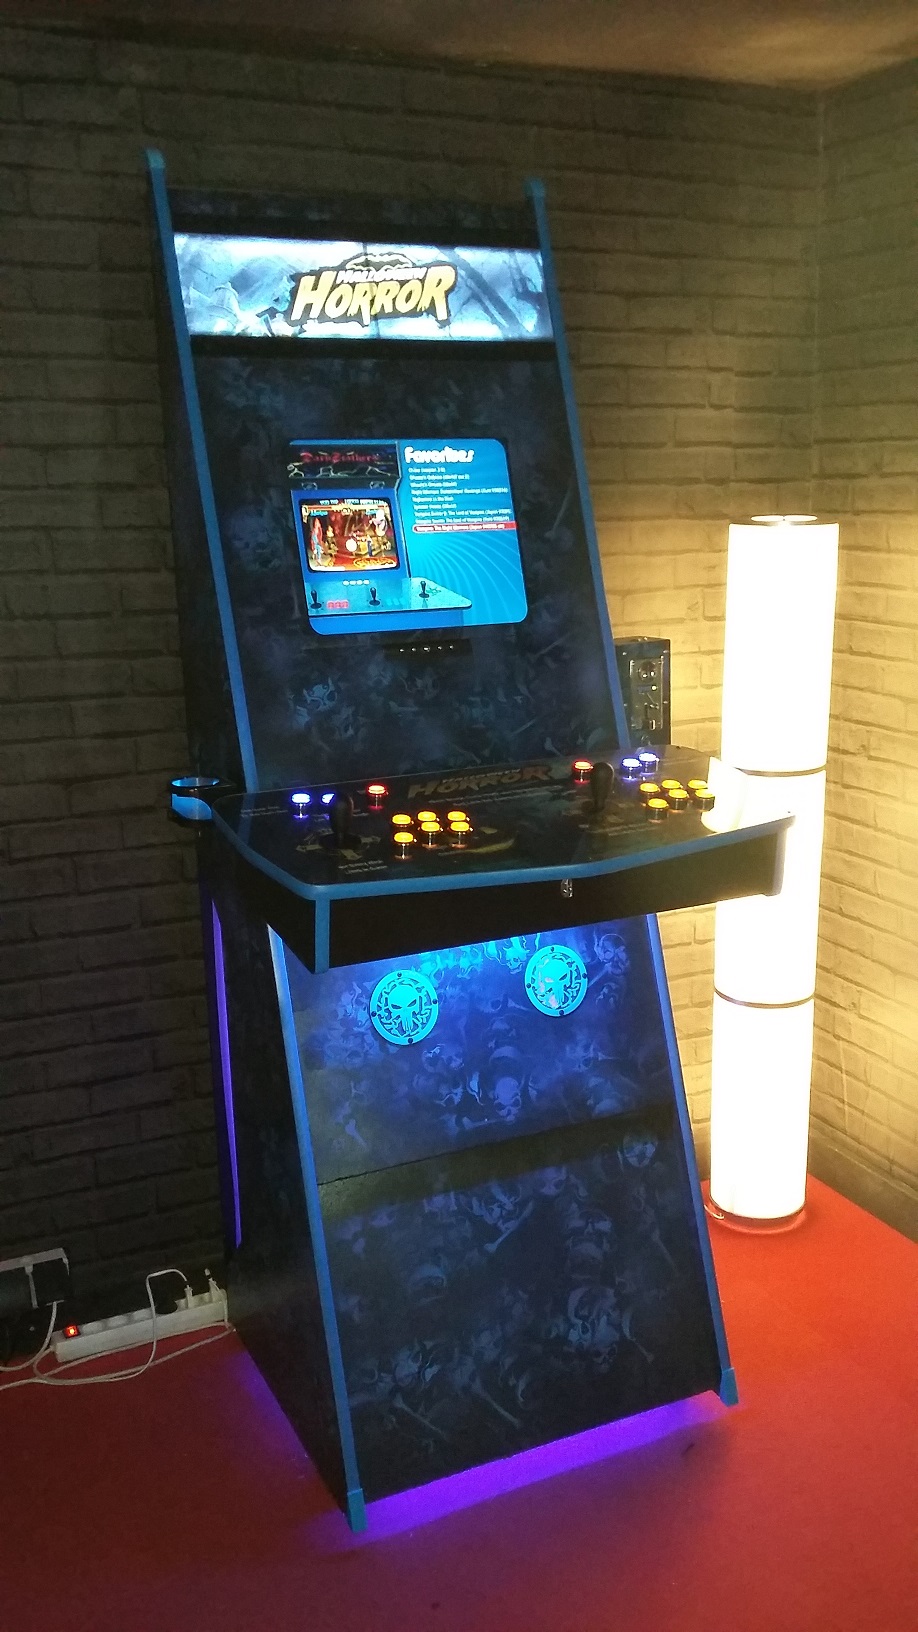
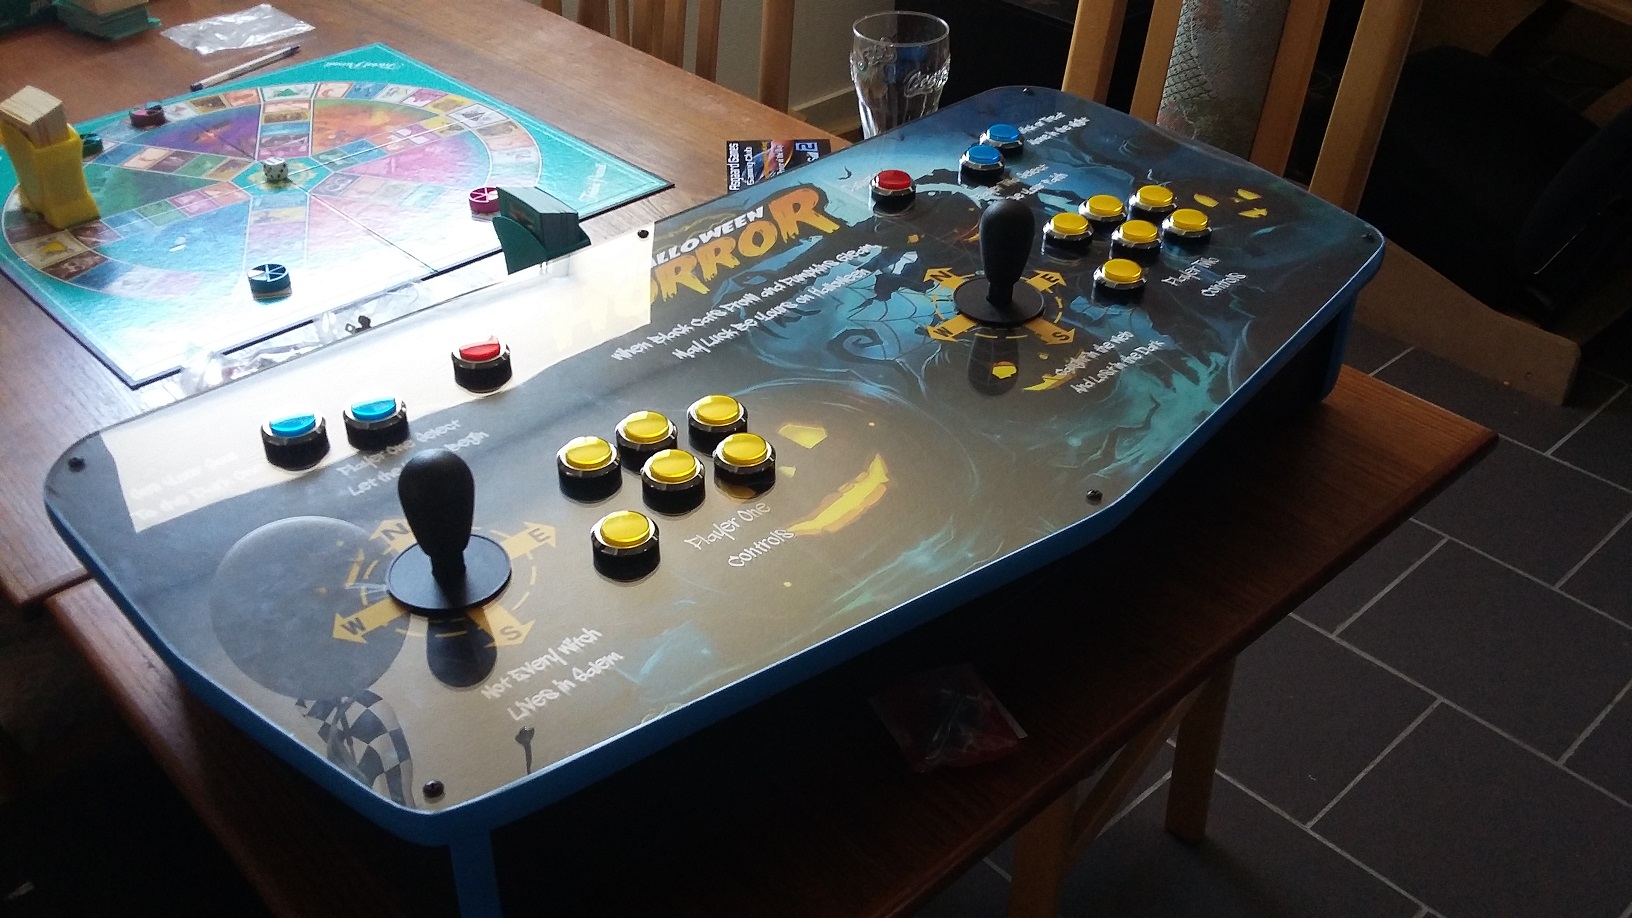
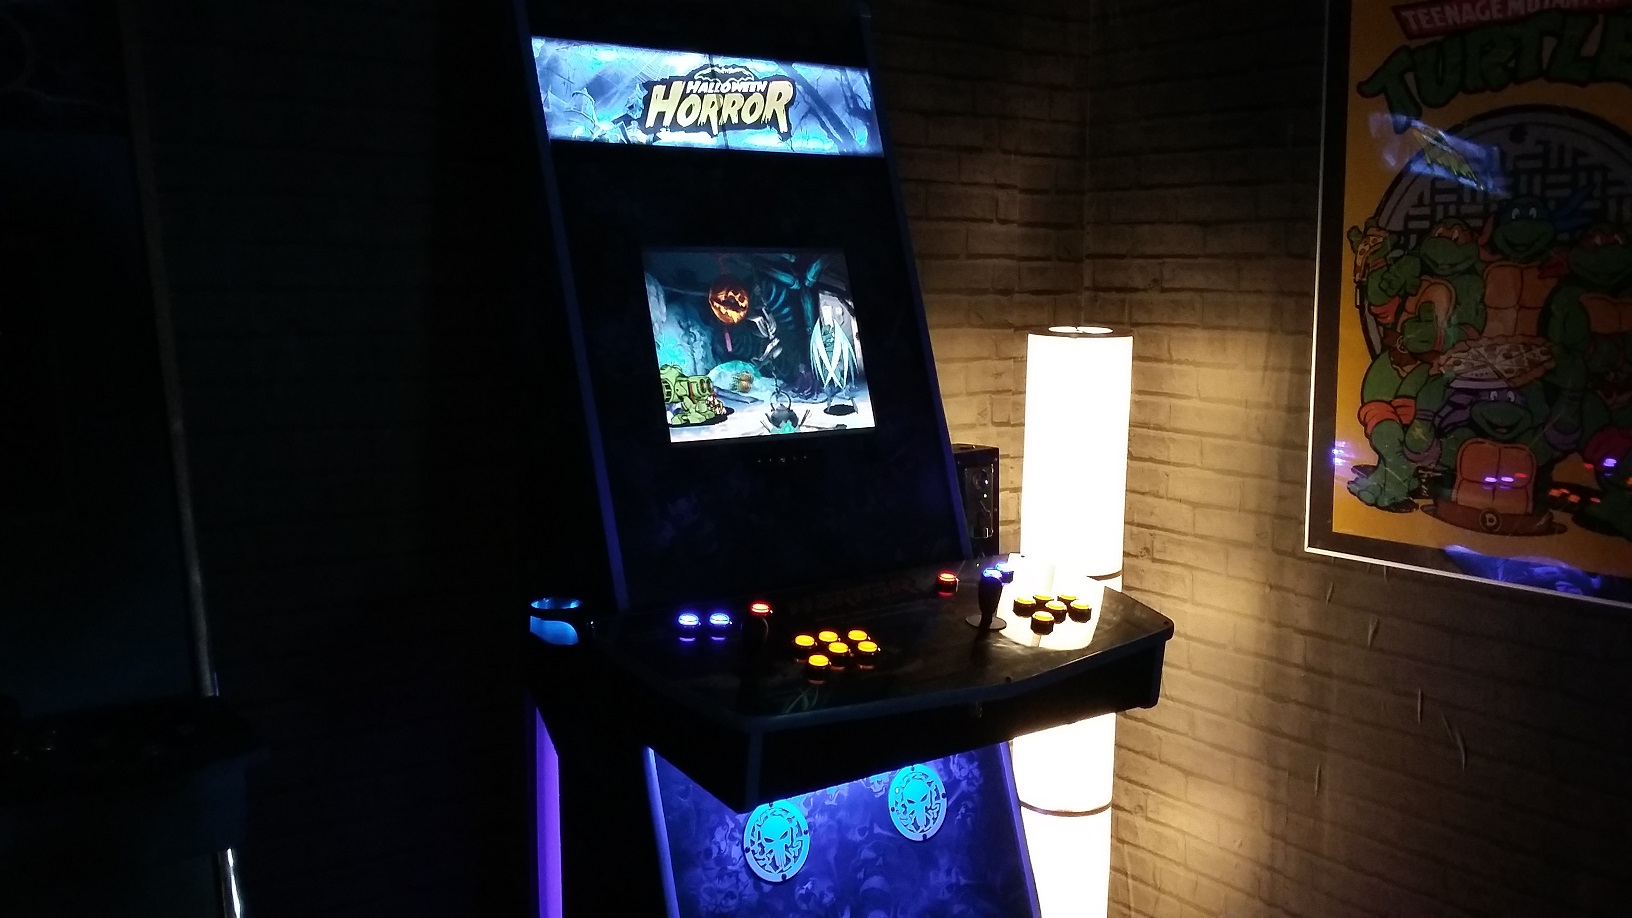
Halloween isn't vary far away and I wanted to build a brand new arcade machine we could play on to our regular halloween party. I finaly decided to make an upgraded version of my erotic delight control panel which I really liked the design off. The upgrade consists of a 3mm plexiglass sheet as the top of the panel. This way I can protect the artwork betweeen the MDF board and the plexiglass. This is proberly some of my best work so far and I am really satisfied with the result. The panel is to be mounted on an low profile cabinet, and then I'll add a lot of blue light in the machine. You can download all the design plans, drawings and artwork that has been used in the creation of this panel for personal use. If you use any of my material please credit me and please subscribe to my youtube channel :) |
 |
![]()
Materials & Tools |
Download Section |
||||||||||
|
Plexiglas 3mm Hinges 18 Arcade Push Buttons 2 joysticks T-Molding Wires & Connectors Mini - Ipac Circular Saw, Jigsaw, Woodglue, Dowels, Sander, Power Drill, Spade Drill, Clamps, Router |
|
 Video Gallery
![]()
 Project Gallery
![]()
 |
 |
|
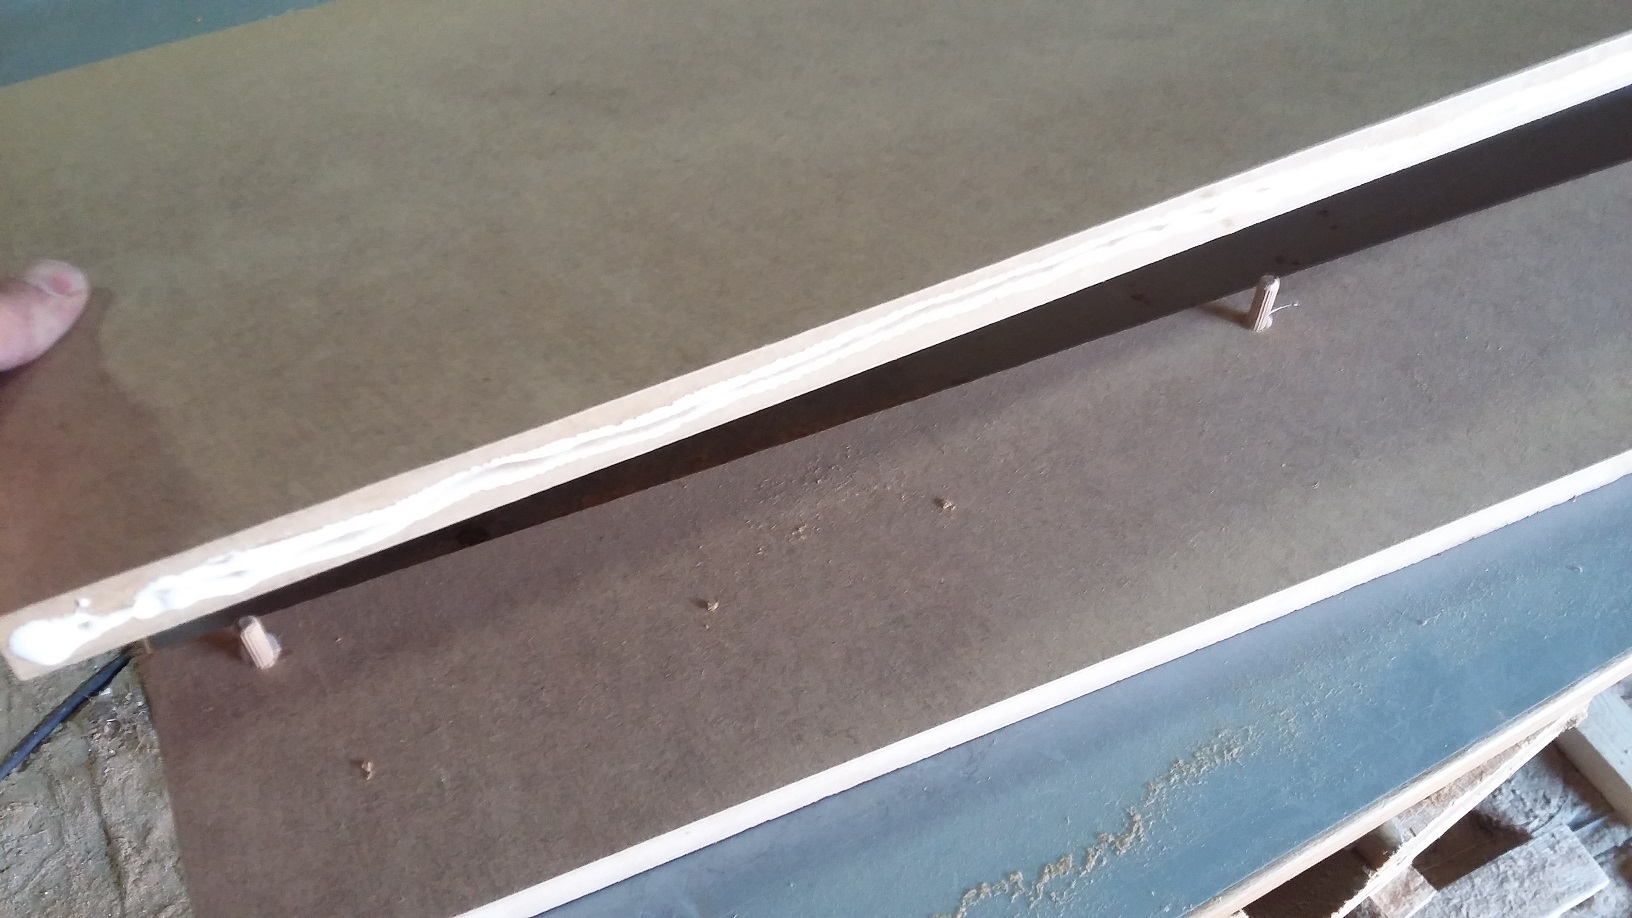
Assembling the control panel using dowels and wood glue. |
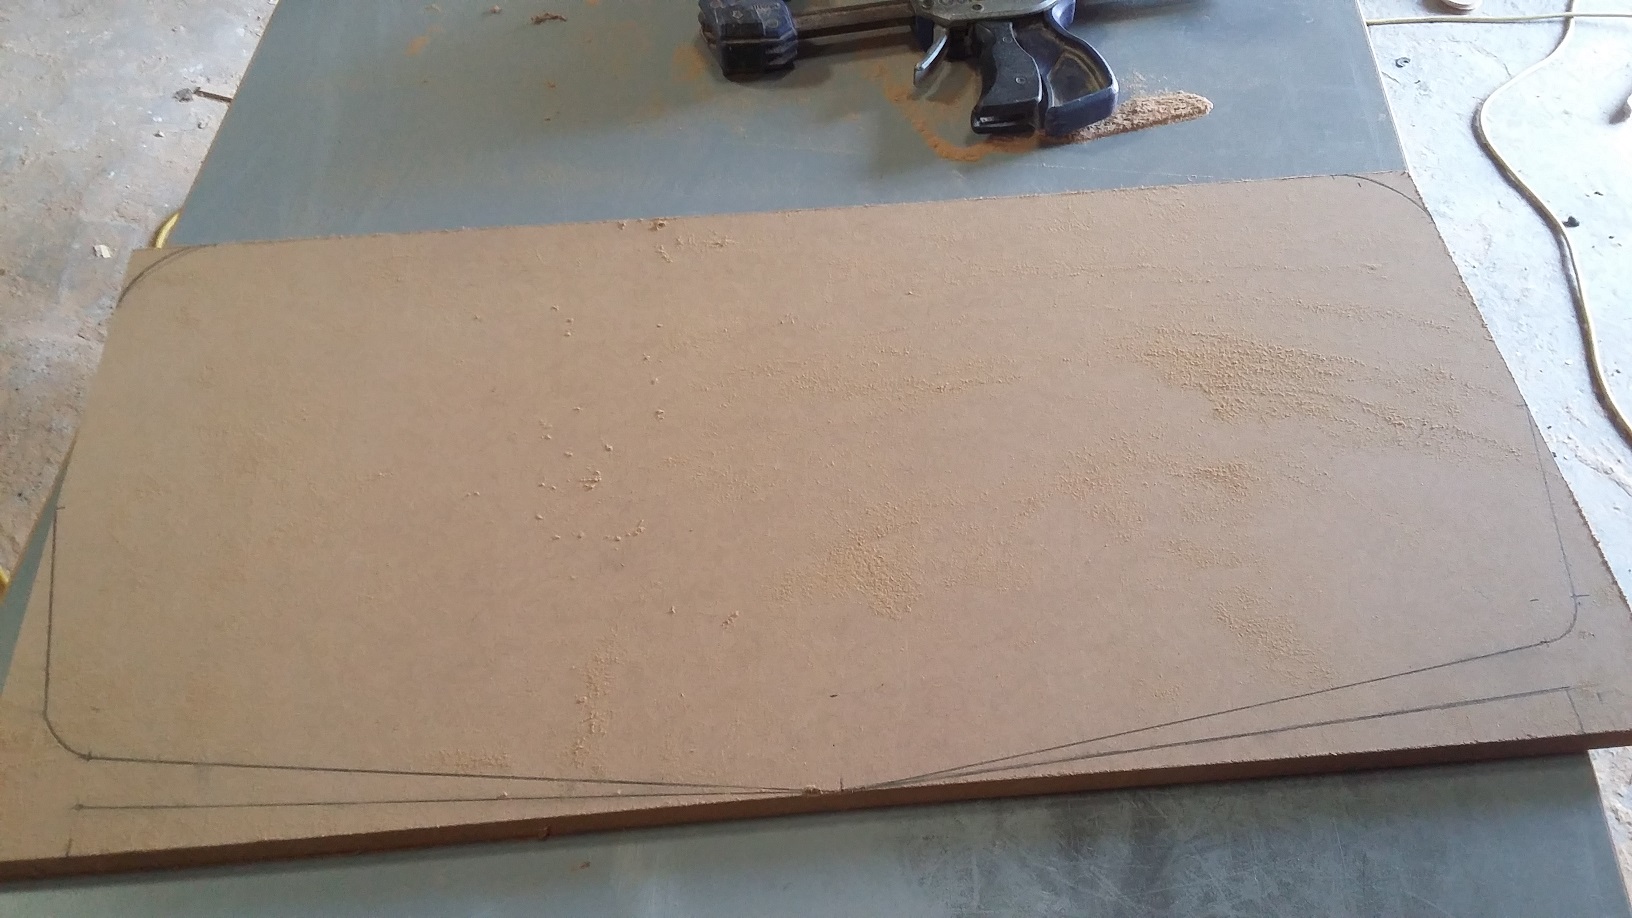
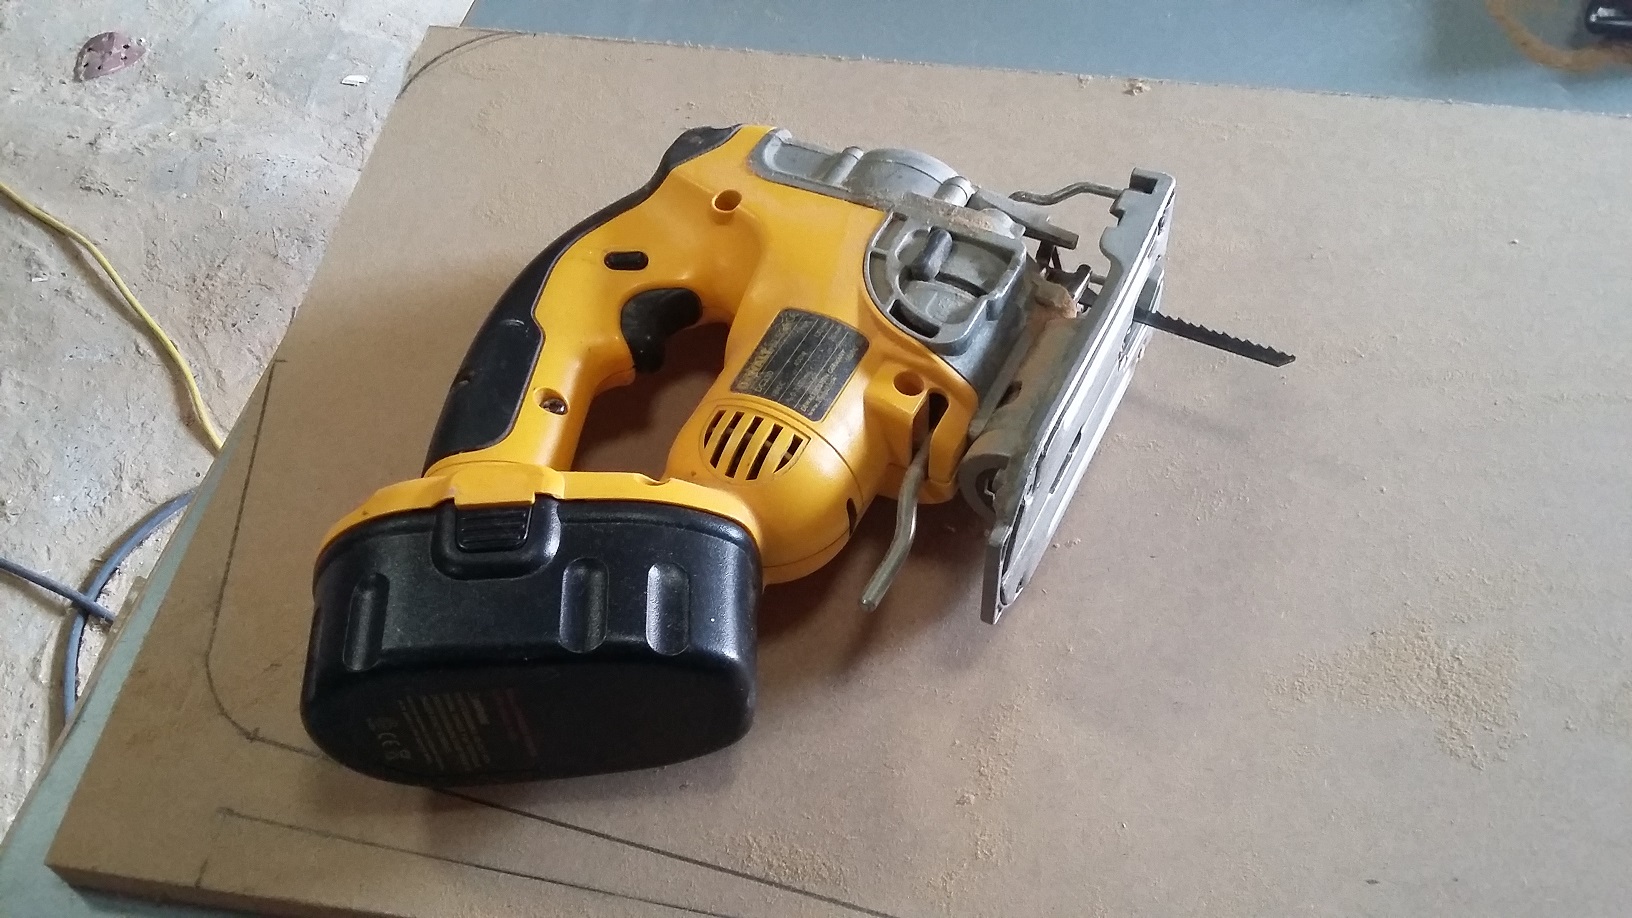
The top of the control panel has been marked and are ready to be cut using a jigsaw. |
 |
 |
|
Jigsaw ready, always use a sharpe blade for best results. |
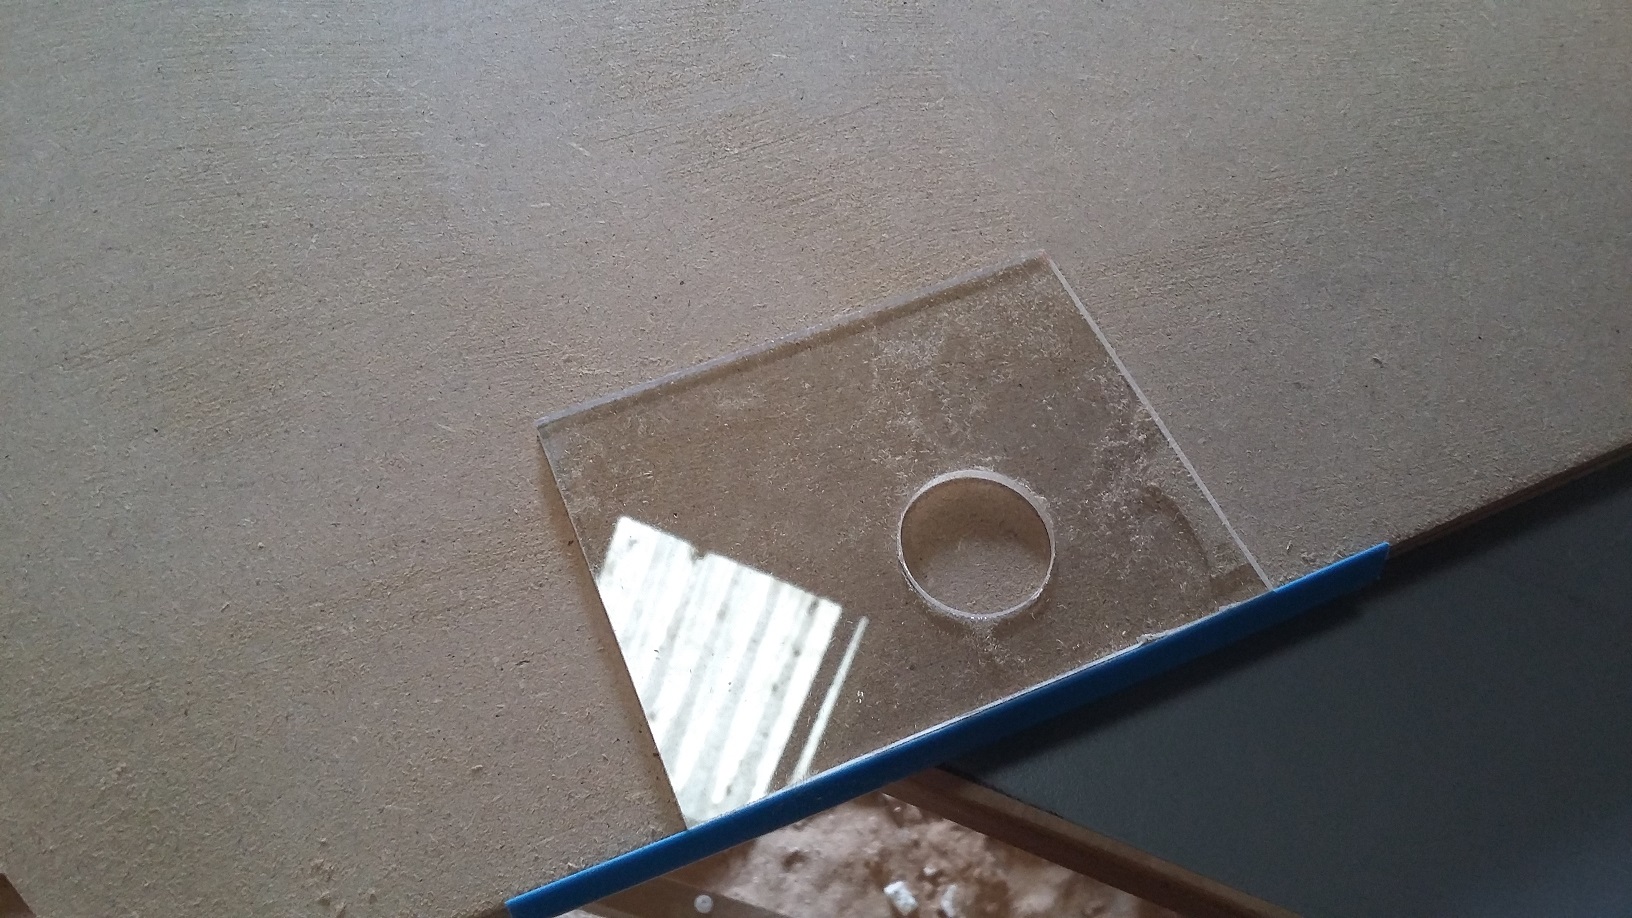
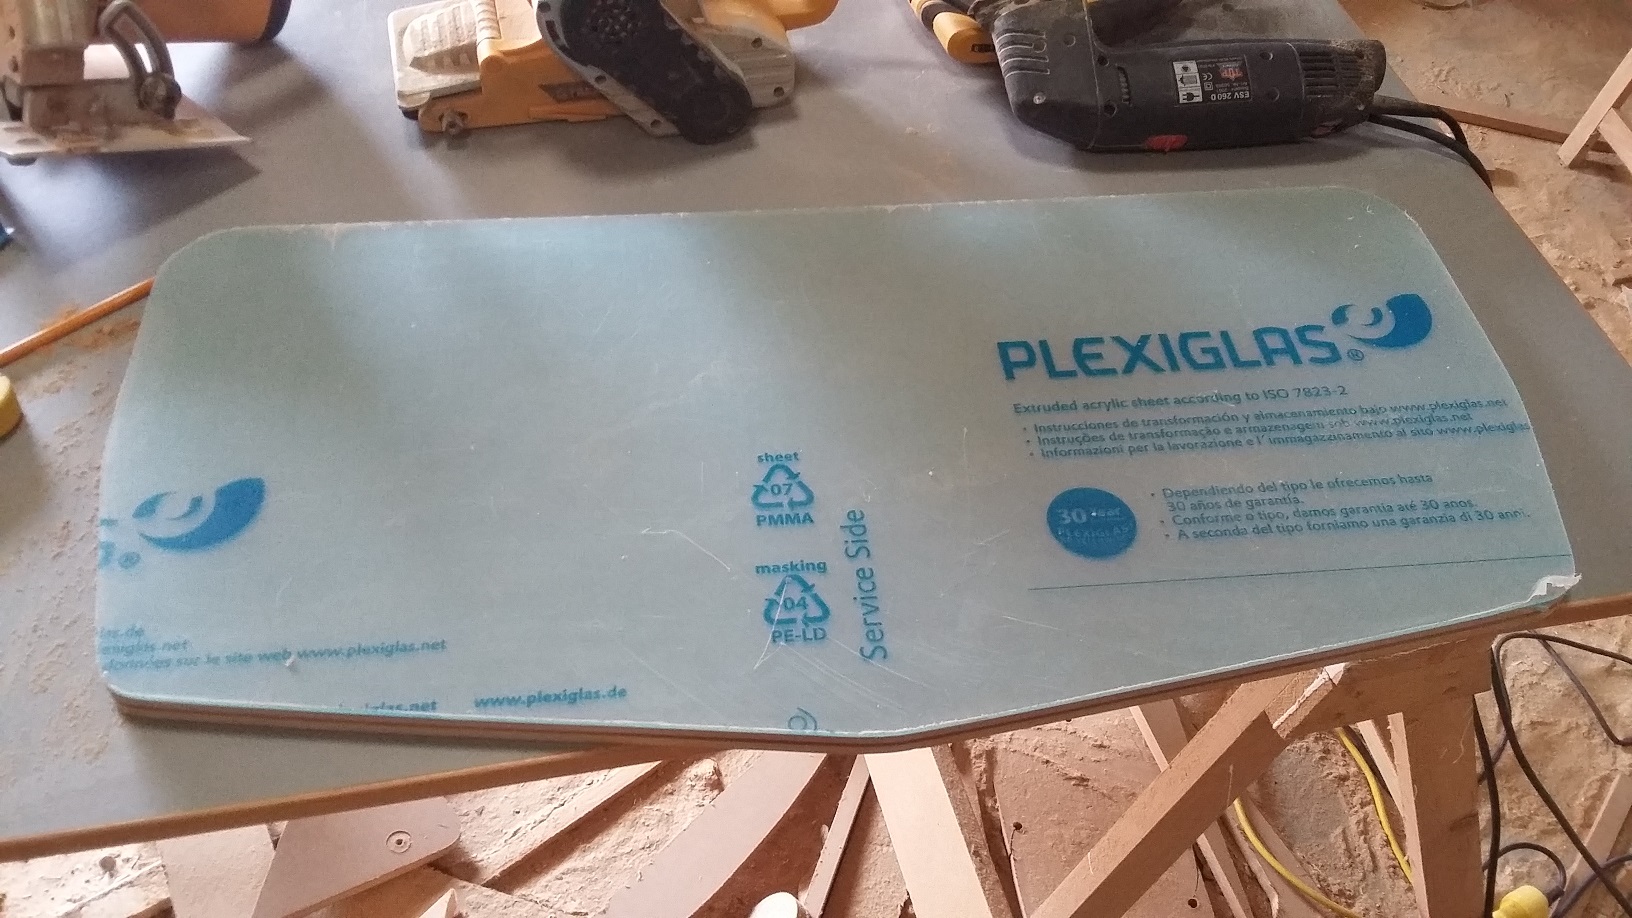
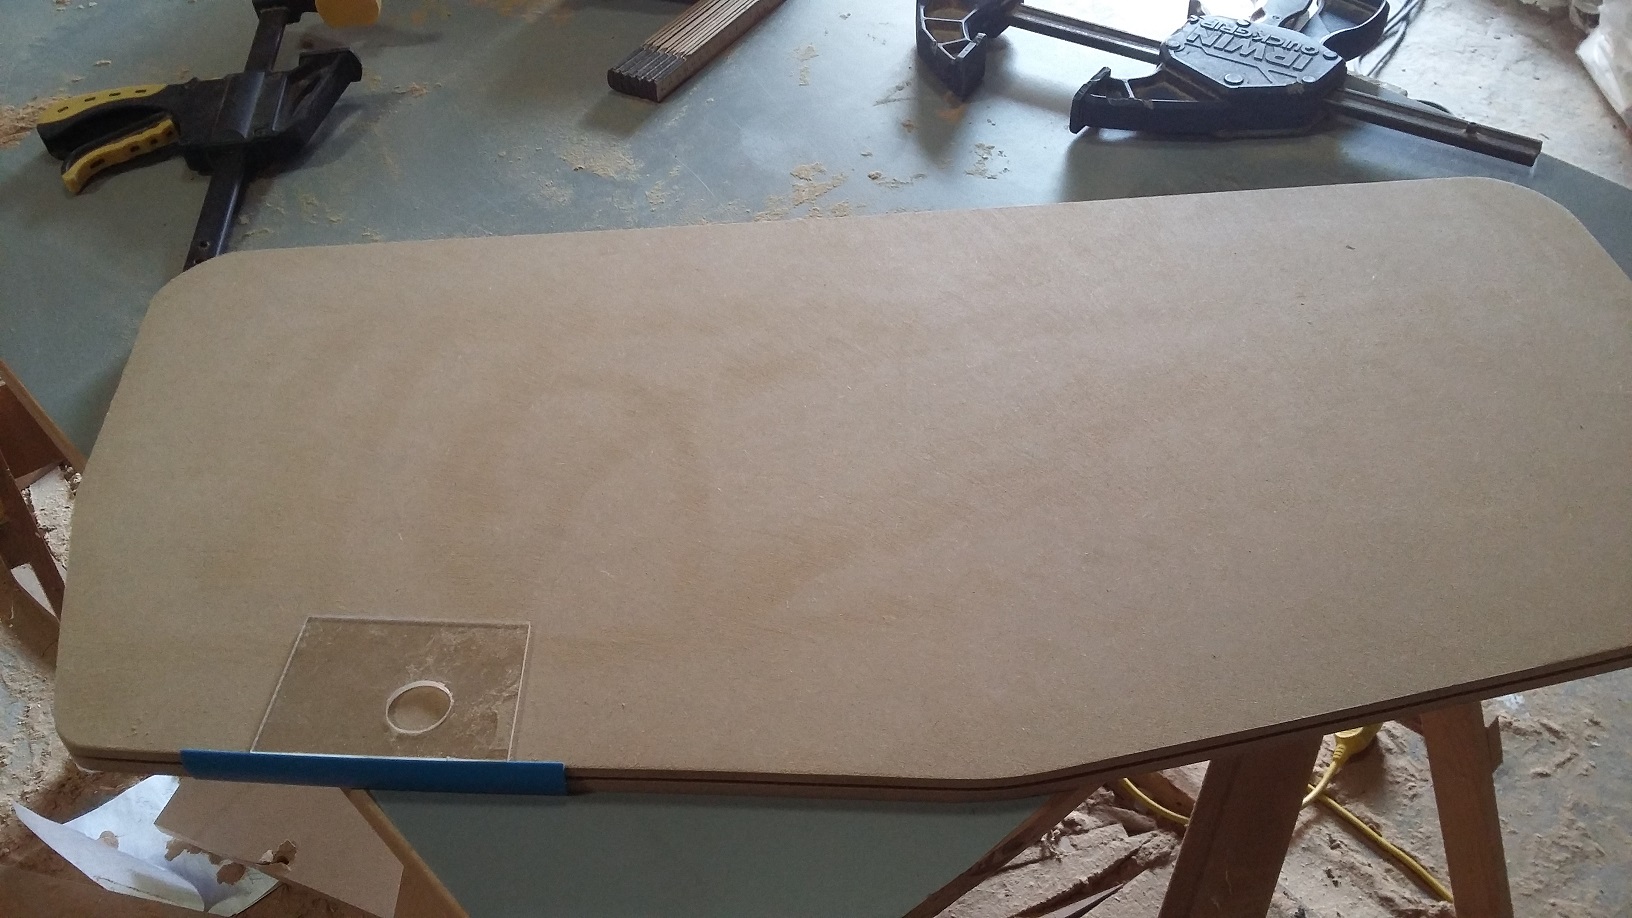
The top panel has been cut and I am testing the allignment of the plexiglass and the T-molding. |
 |
 |
|
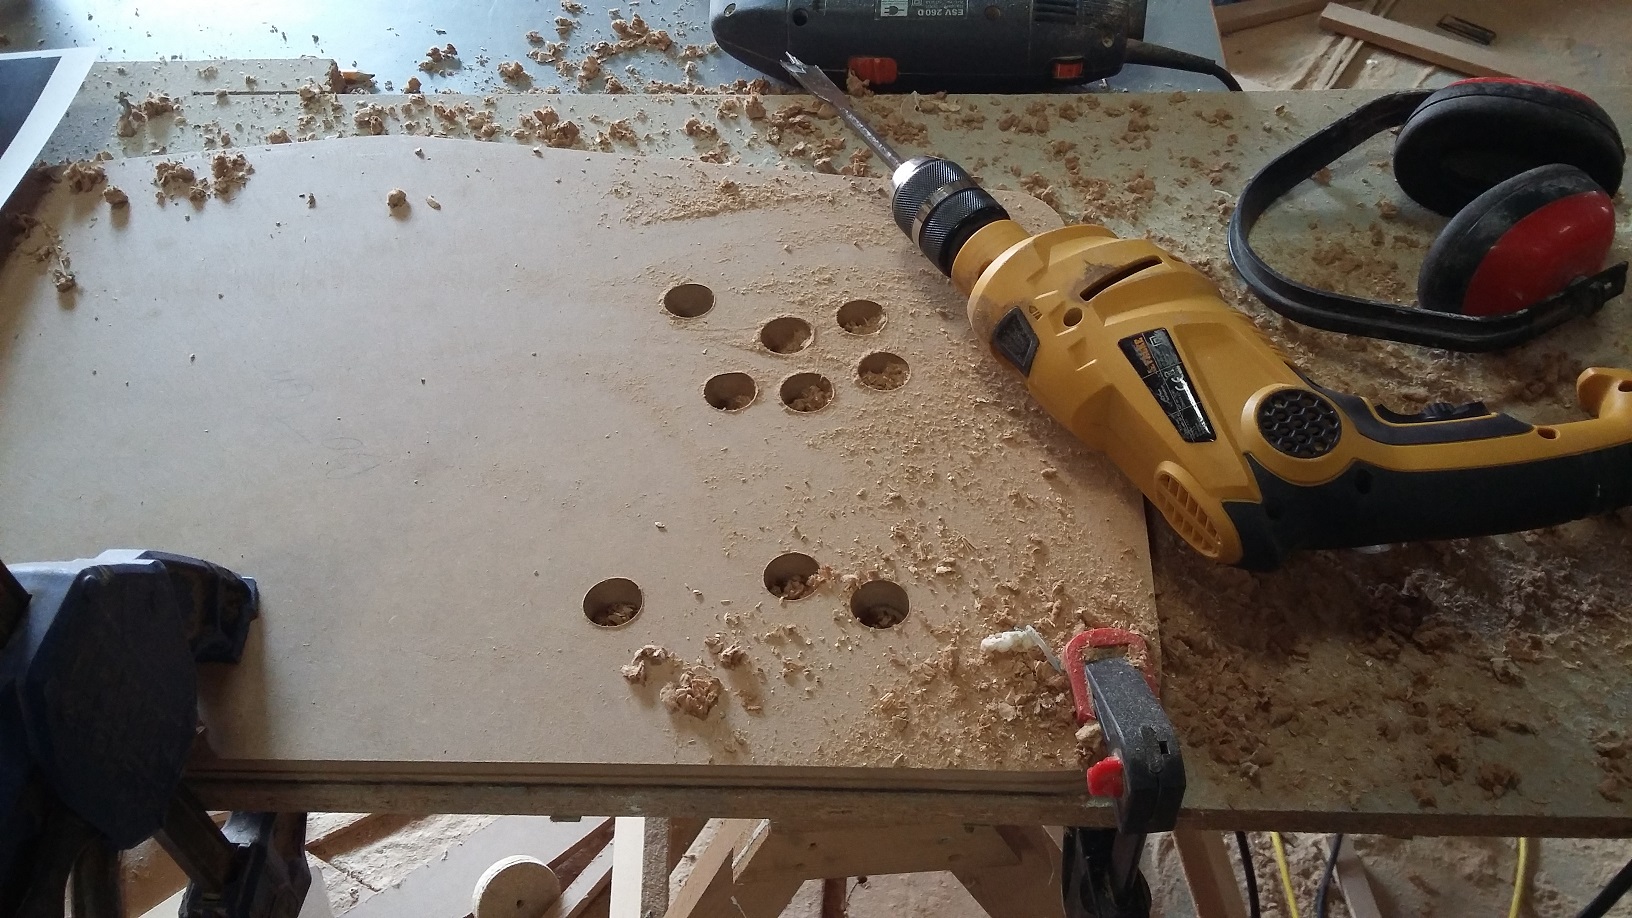
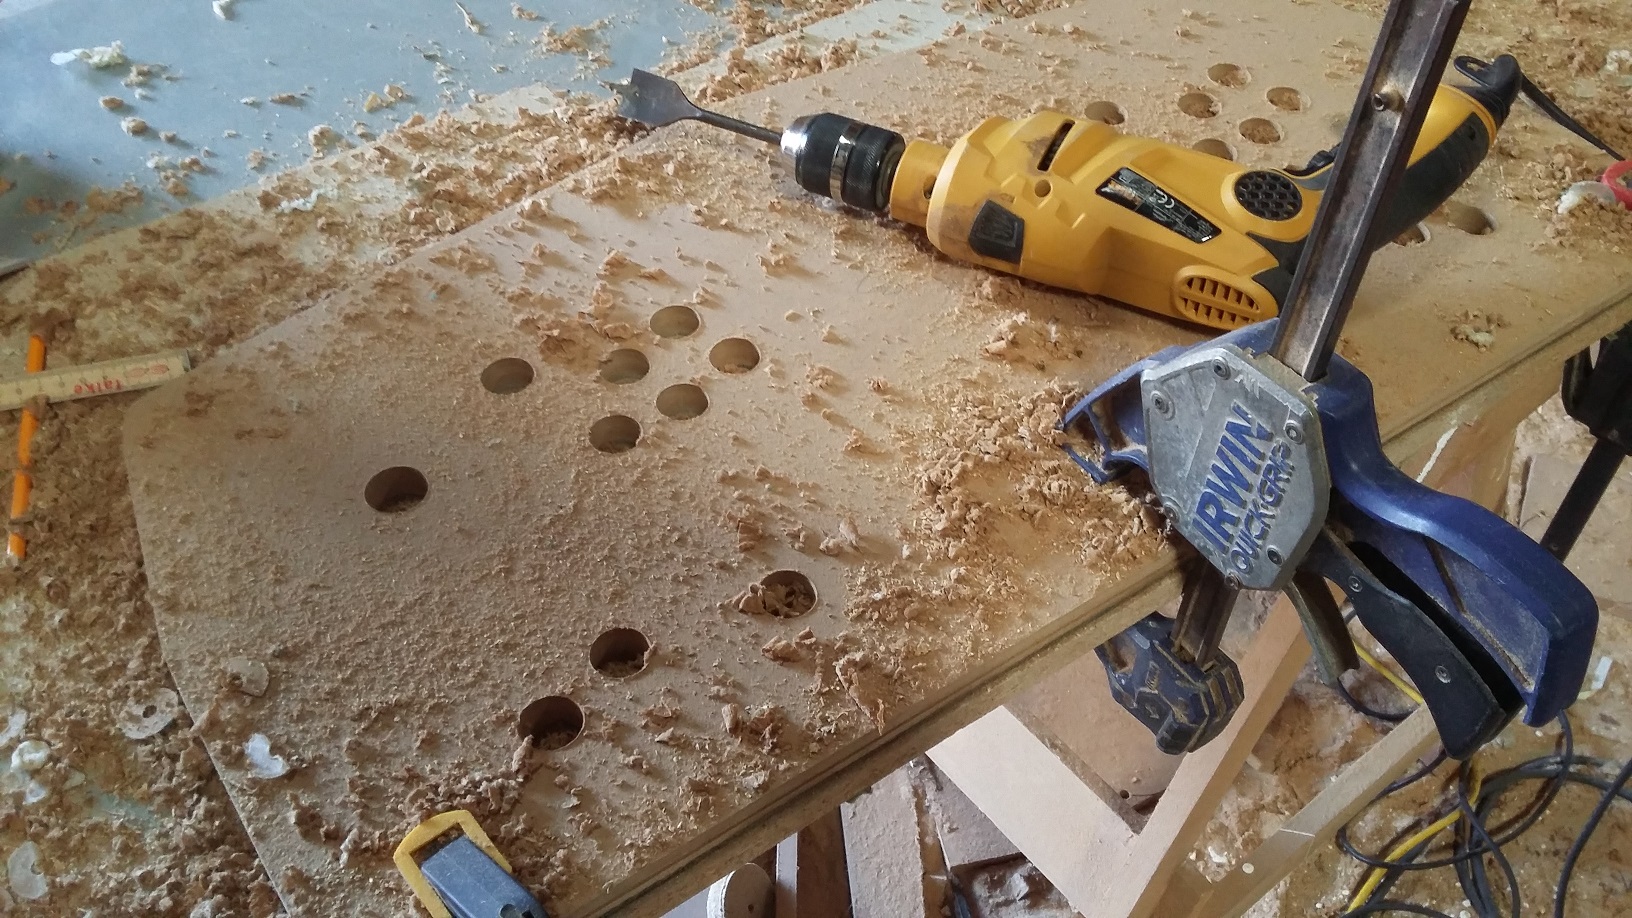
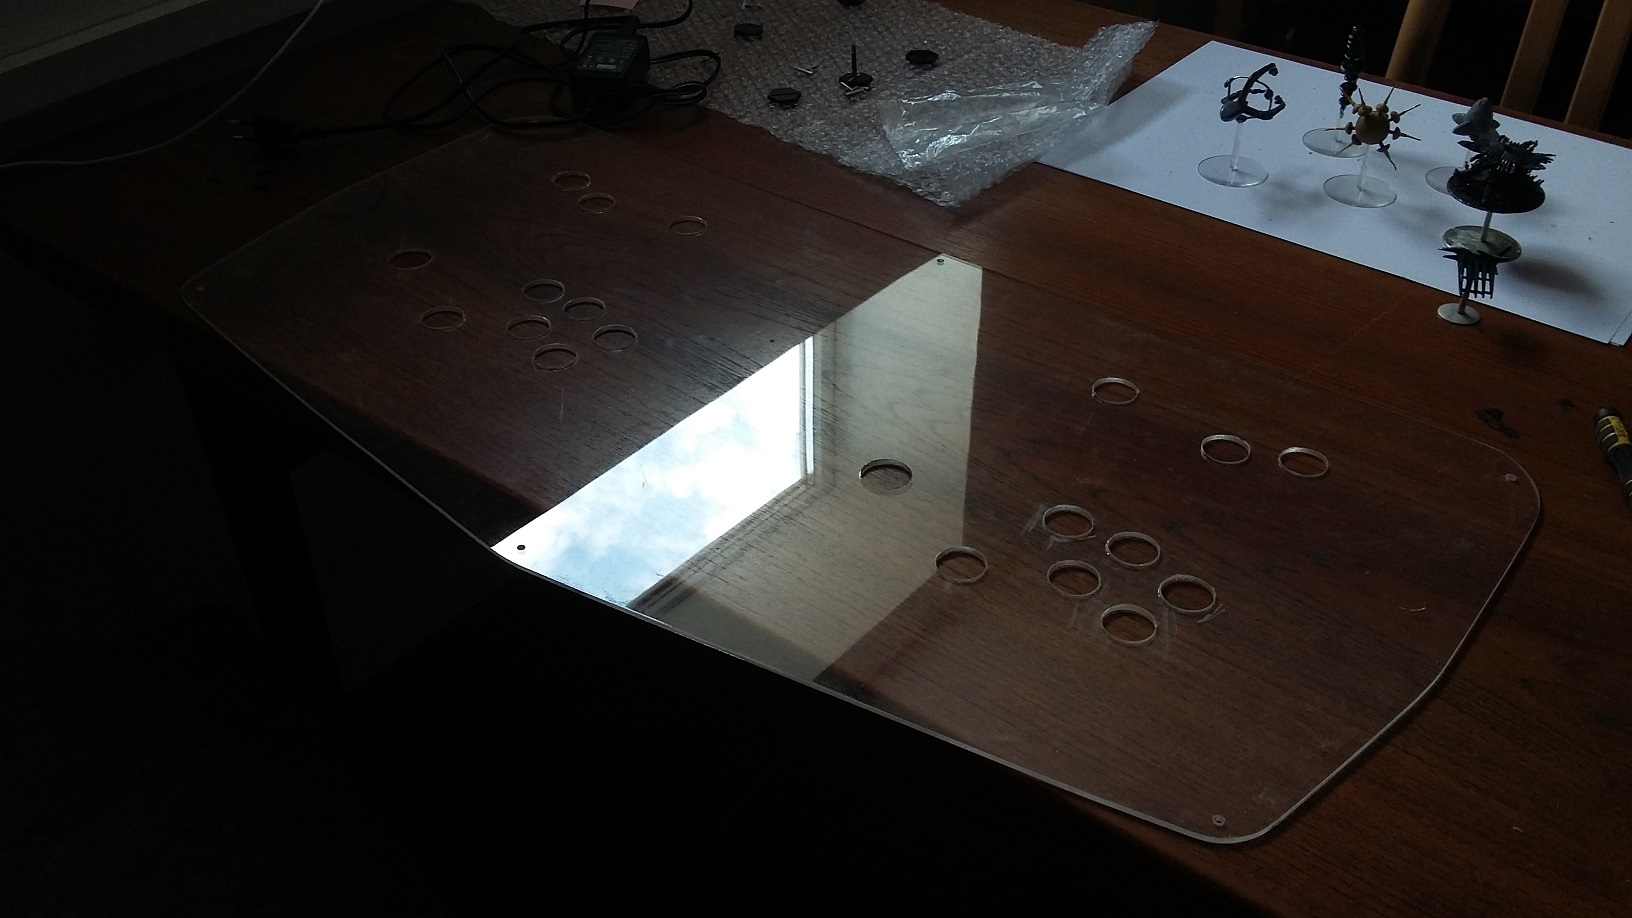
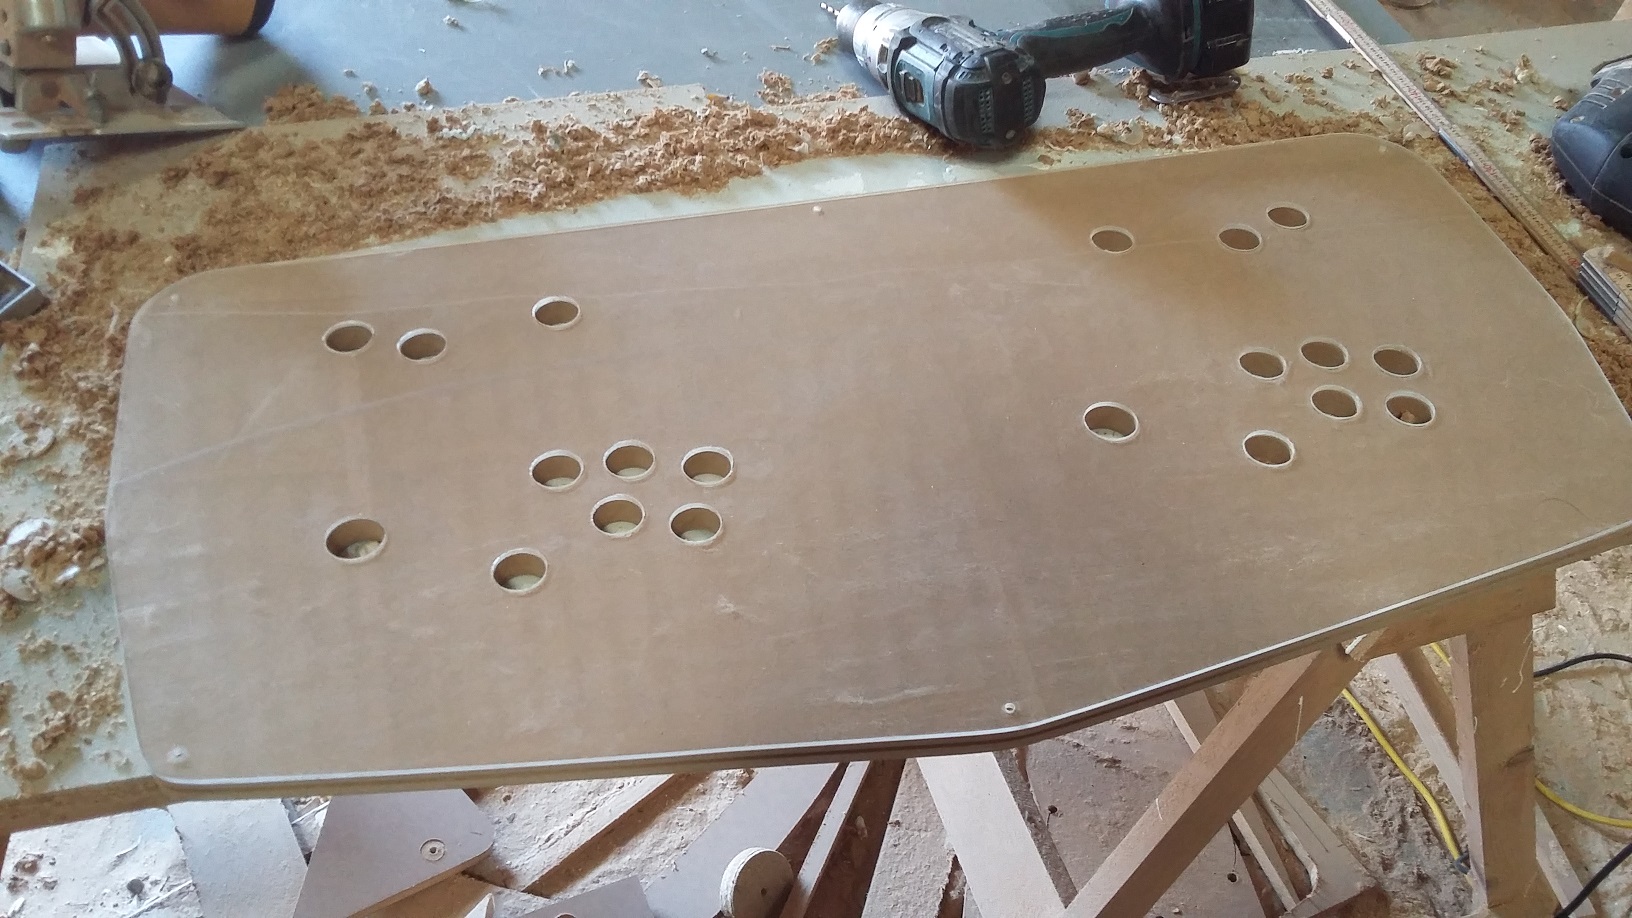
All holes cut and plexiglass alligned on top of the mdf board. |
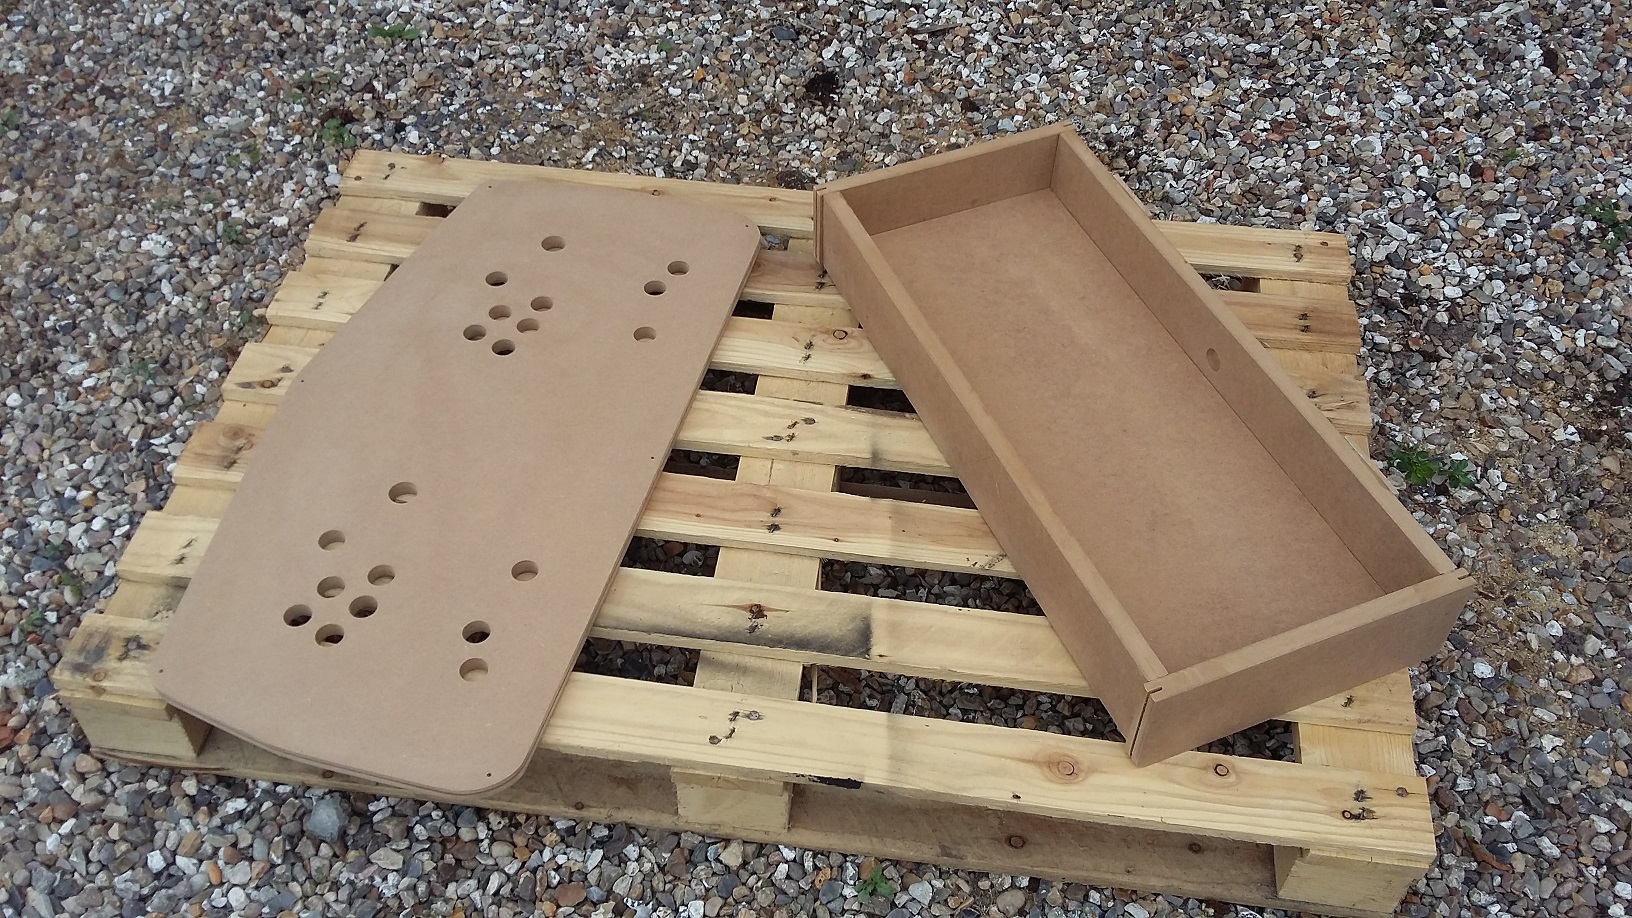
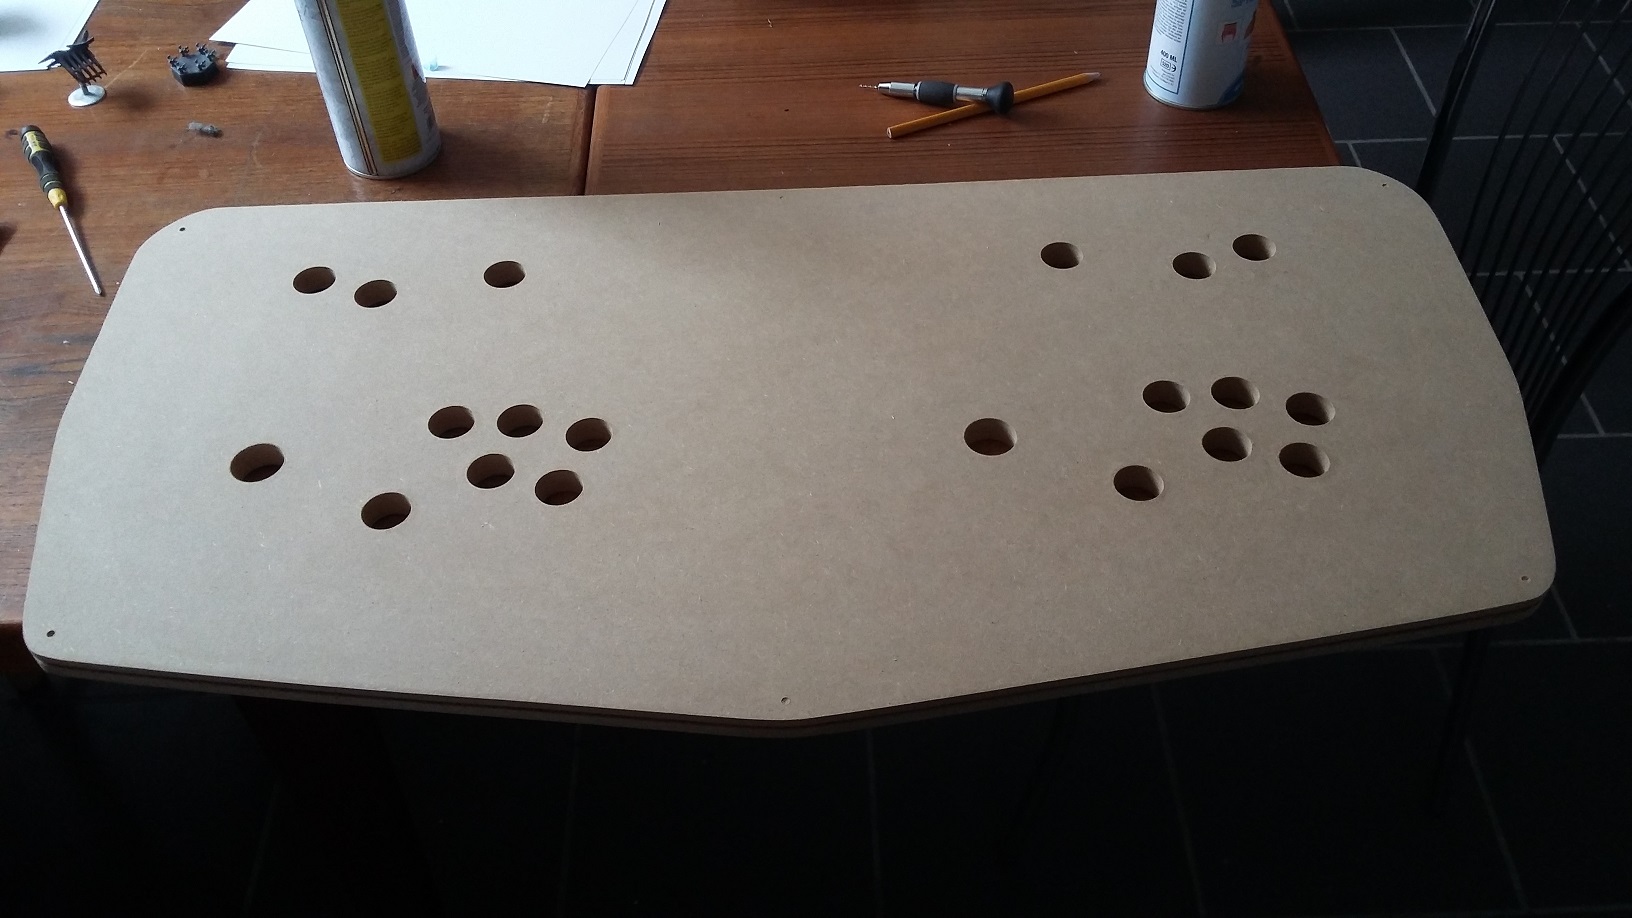
Just the MDF board |
 |
 |
|
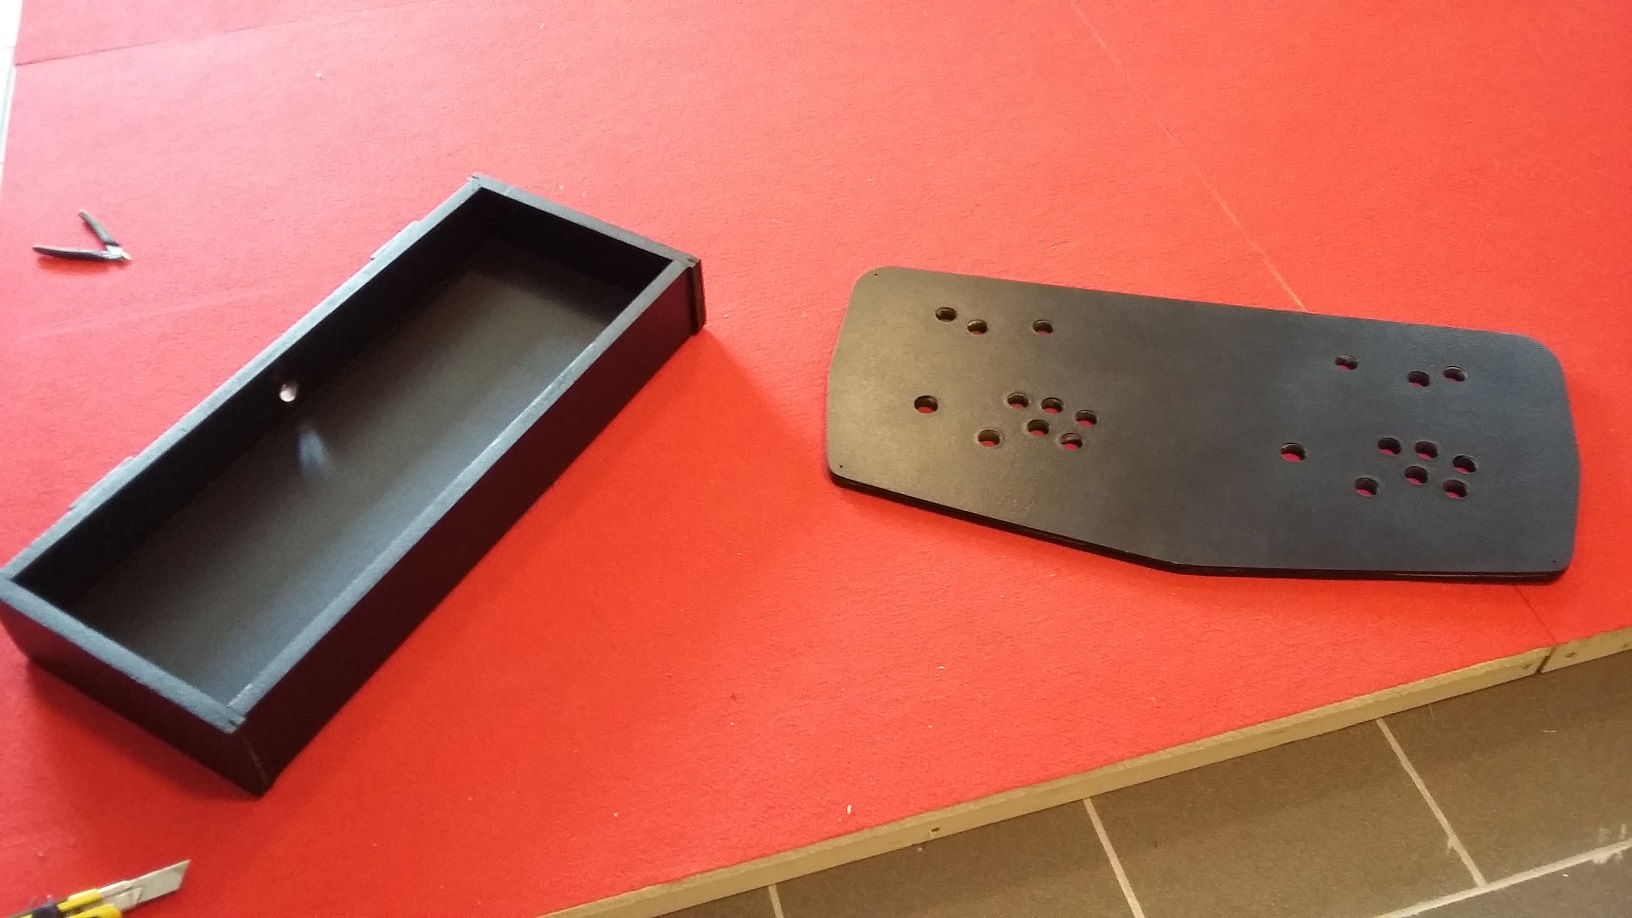
Painted and ready for assembly |
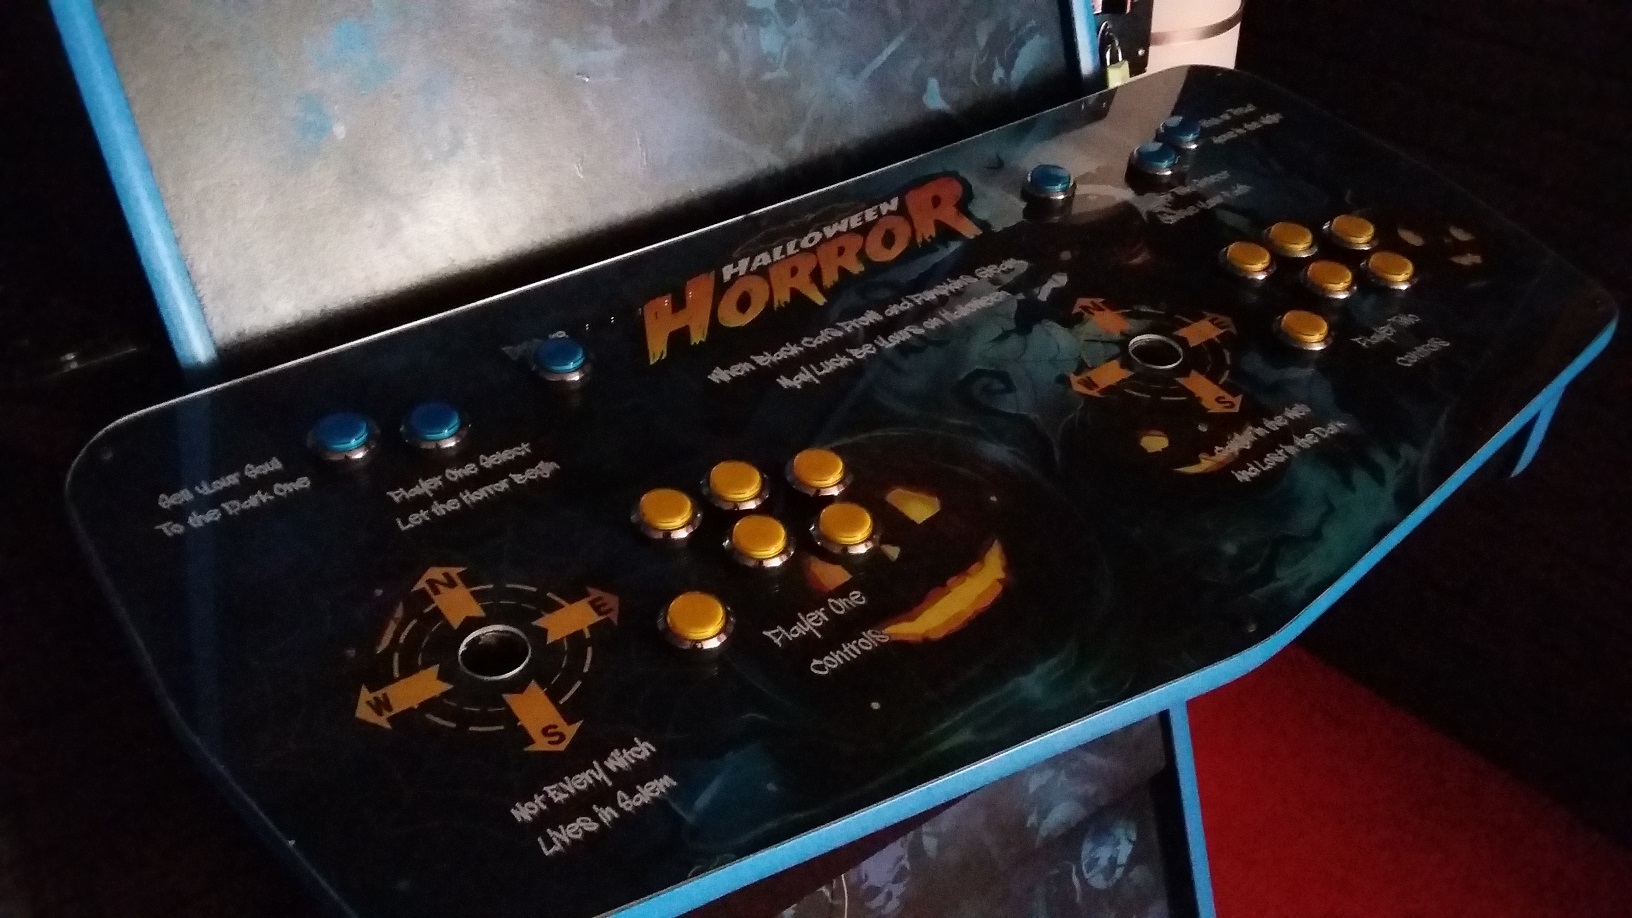
The result before I mounted the joysticks and the light |
 |
 |
|
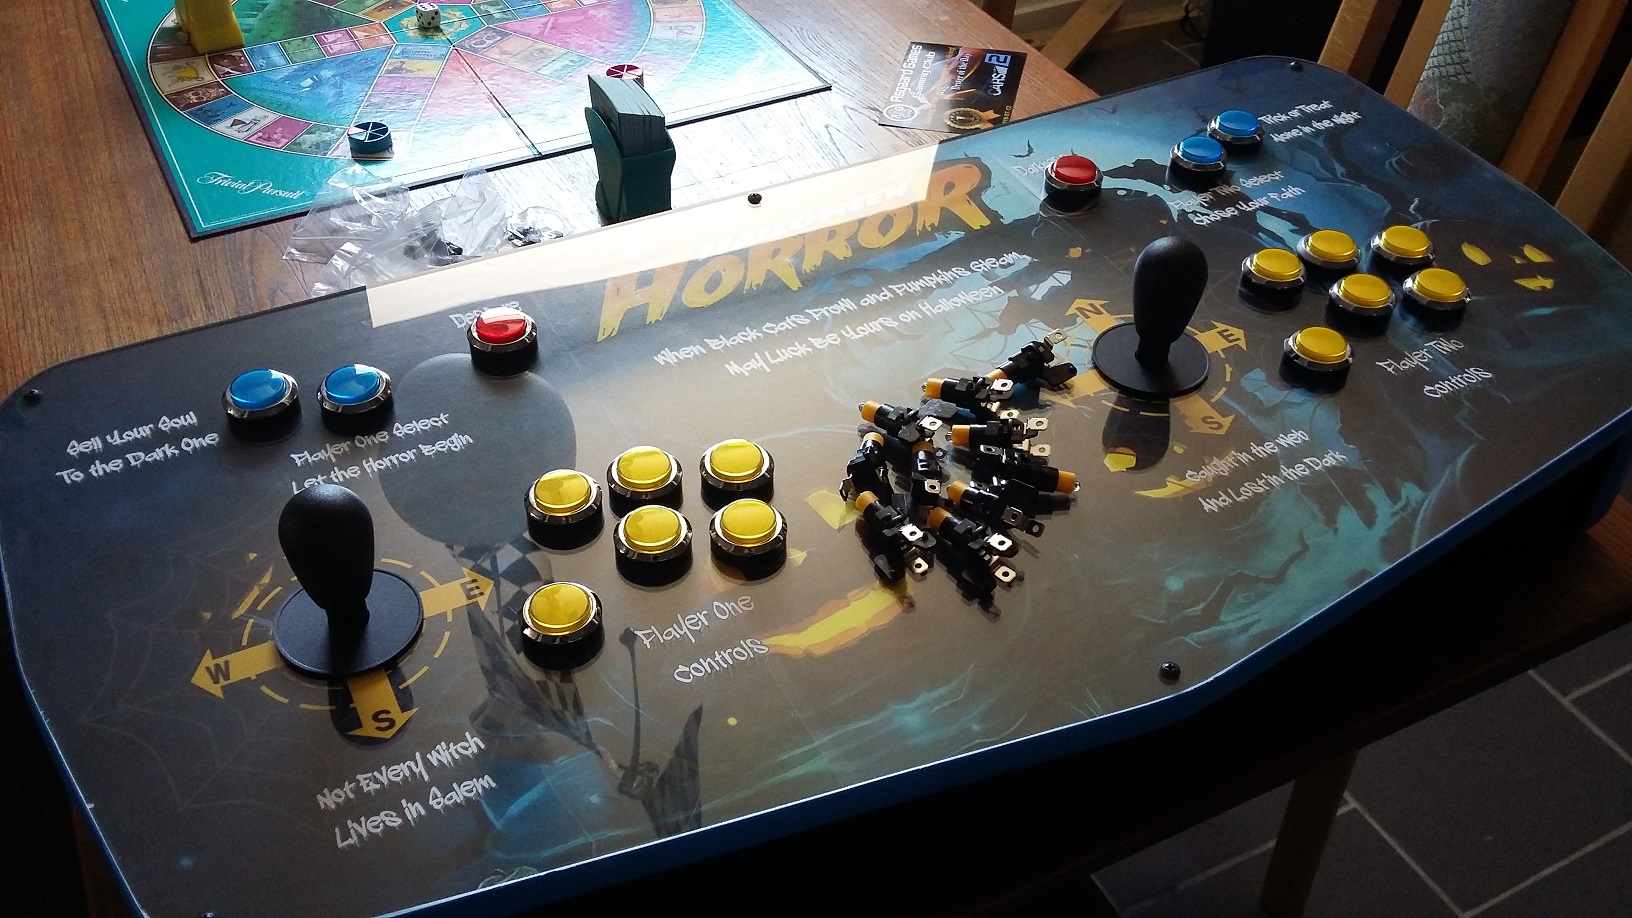
Ready to mount the LED lights in the buttons |
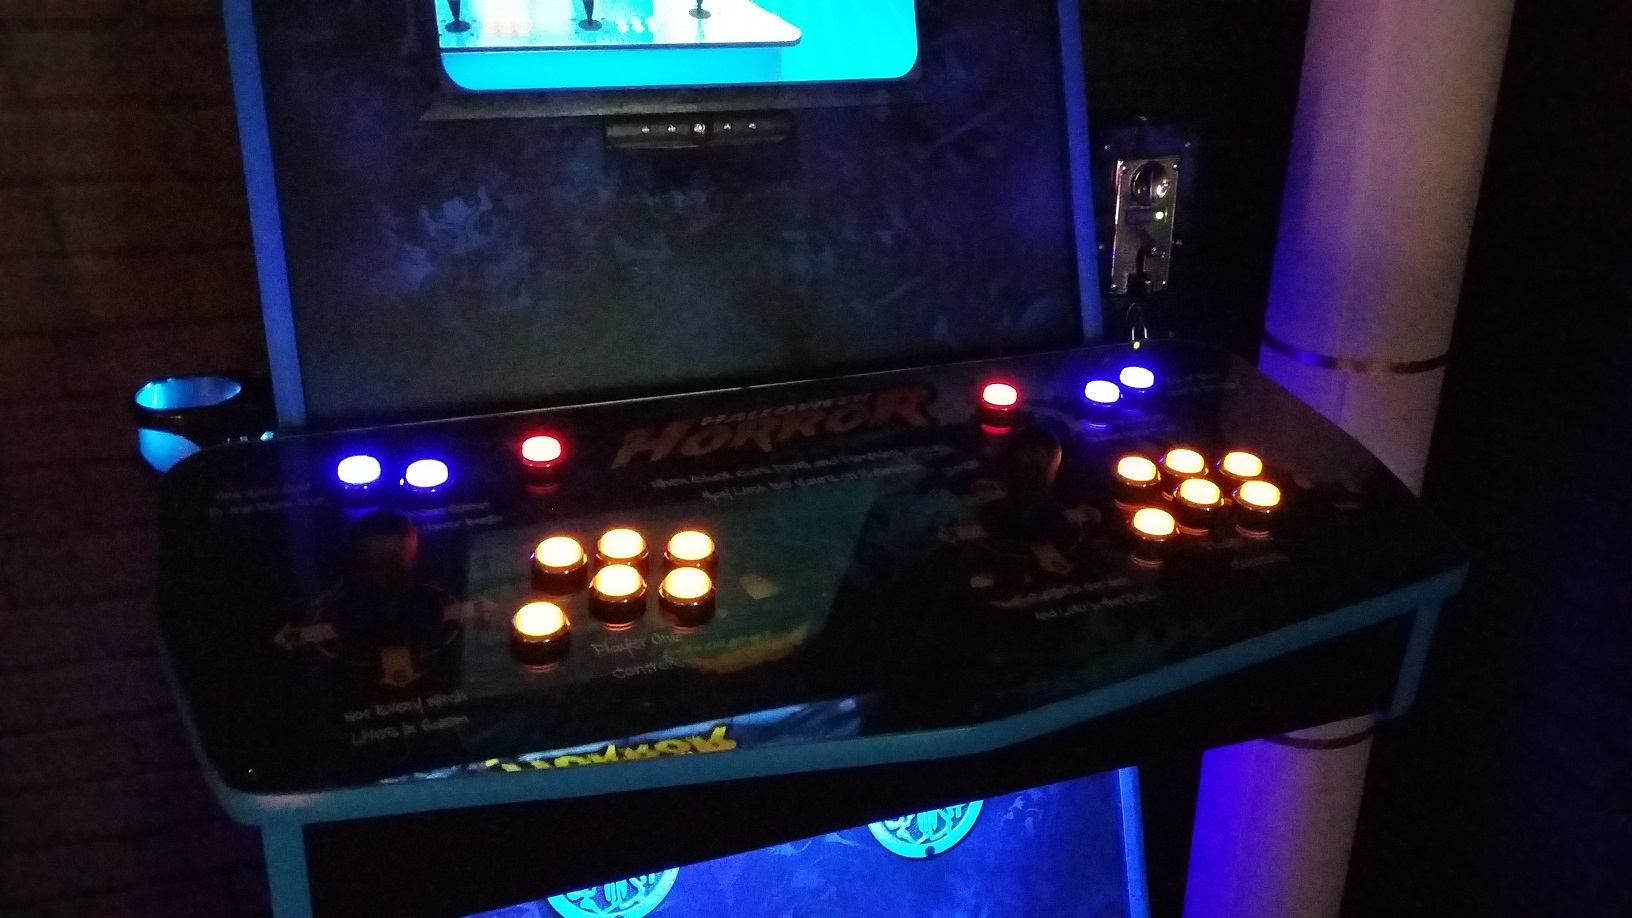
That's it. The panel is ready to be mounted on the cabinet. |
 |
 |
|
|
|

